In the past 5 years
the aftermarket industry has put out newer and more exciting suspension kits for
cars and trucks alike. From, BWM to Ford, whether it be a coilover setup, race
springs, sway bar, most customers will find what they need. With the
introduction of parts that make suspensions more adjustable than what the end
user is capable of tuning, we come upon a newer market of Camber kits/Alignment
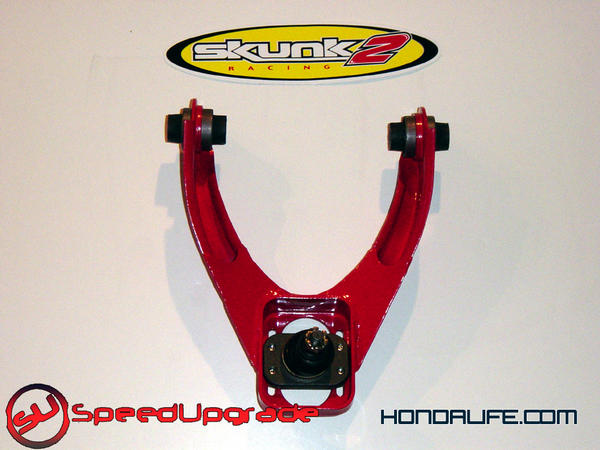
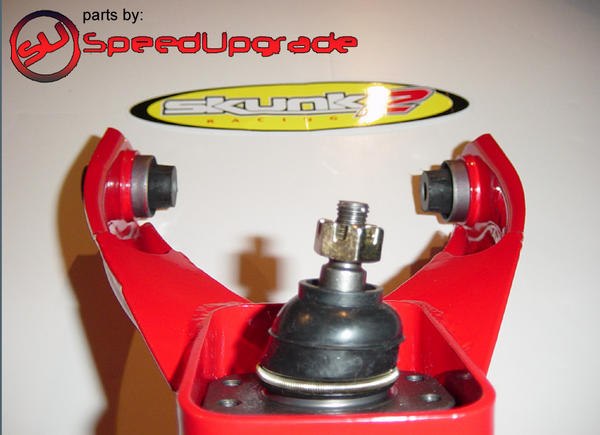
kits. In this article we will be going over an install of the Skunk2 upper
control arm camber kit for certain Honda made vehicles.
The newer breed of
camber kits are using adjustable ball joints to get the job done. The first on
the market with the concept was Kmac of Australia, their idea soon became a
popular one and other companies quickly developed different techniques to employ
adjustable balljoints into their components. After reading and listening to the
buzz about this kit, we decided to pick it up and try it out, on a 1998 Honda
Civic. I had installed and tested almost every type of kit available for this
type of car. This left me with a good idea on what I needed and what I did
not.
The beauty of waiting a
while before ordering new parts is to have the abilty to do some research on
what other tuners like and disliked about them. In the case of this part, there
was a huge concern about two major failures with this kit, both which I was
ready to address both during and after the install.
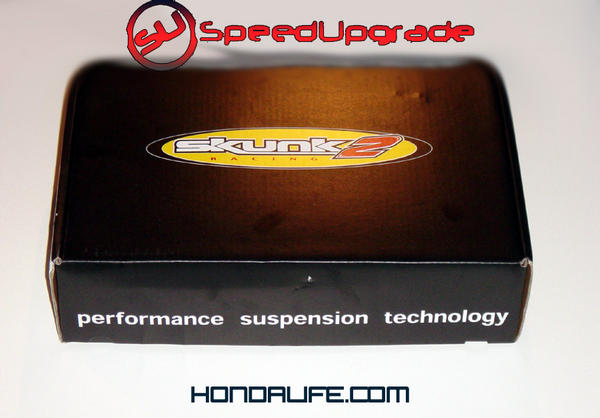
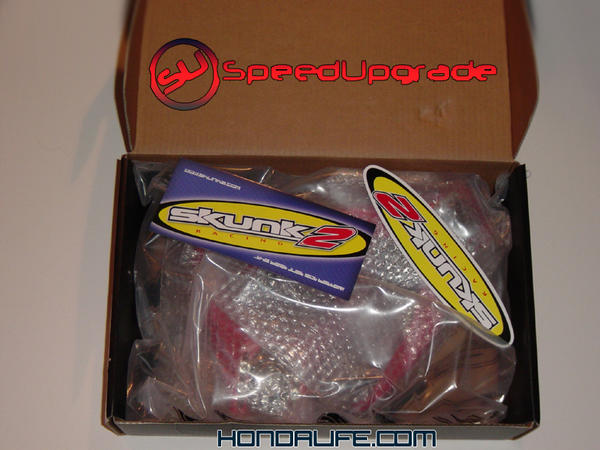
I started the process by
ordering the parts through Matt M. (MatT3T4 on Hondavision.com) through his own
company Speedupgrade.com. He was able to beat the lowest prices on the net for
this kit. I recieved the kit within 7 days and no problems were
noted.
I prepared the install by
getting the proper tools together, which included 8-17mm wrenches and sockets
with a 3/8" drive and a 3/8" Tq. Wrench. I also had some zip ties for supporting
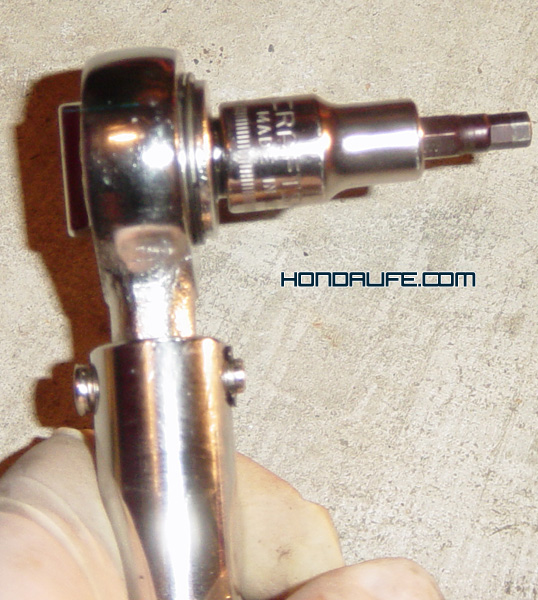
the knuckle once dislodged from the ball joint. For this install it was also
required to buy a 5mm 3/8 socket allen key to lock down the allen nuts on the
camber kit. See Image 1a. In addition I was prepared
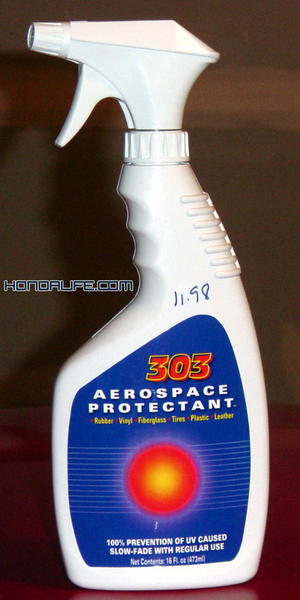
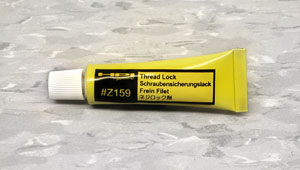
for the problems that seemed to plague many people's installs. I brought along a
spray bottle of 303 Aerospace Protectant, as well as some industrial silicone
grease made by ShinEtsu and some thread lock compound. I will explain their use
later in the article. See Images 1b.
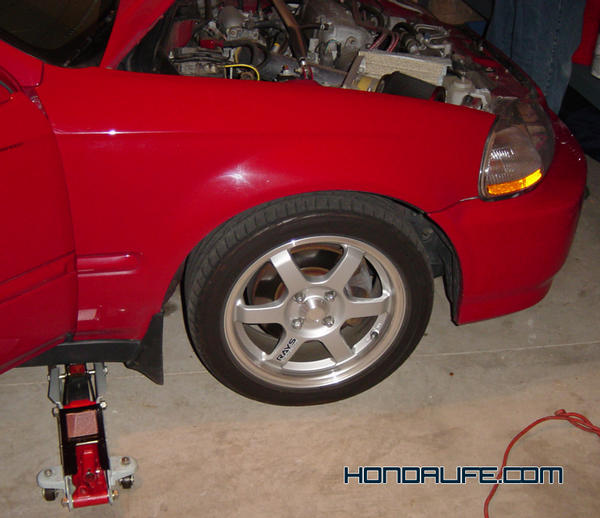
After the preparation was
finished I headed to the garage with some portable jacks and jackstands, and
began to support the vehicle. After removing the wheels, I began the process of
removing the cotter pin from the castle nut and the castle nut from the upper
ball joint.
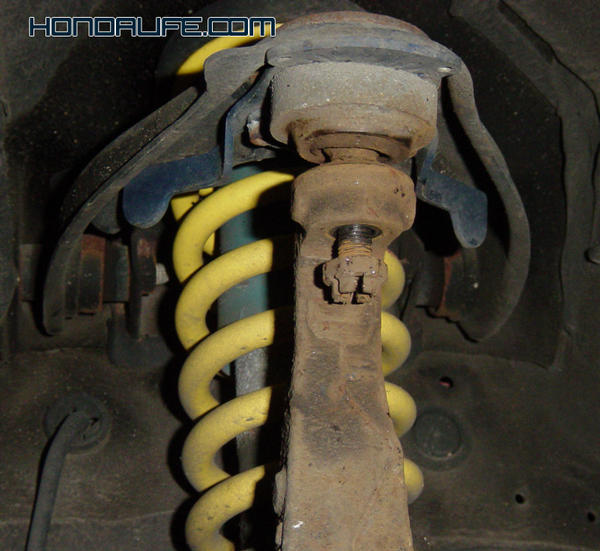
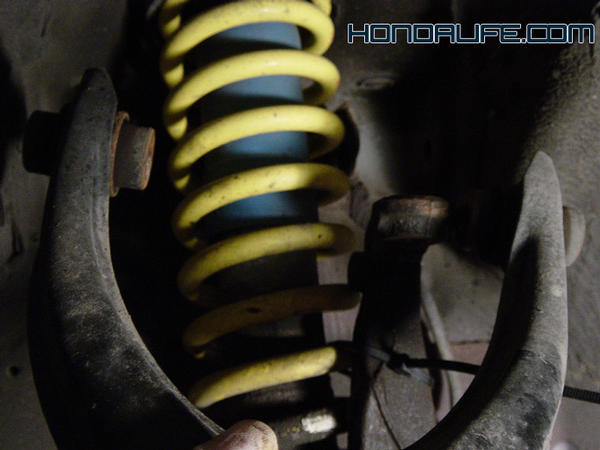
In the case of this removal,
the control arm being removed was a modified OEM arm with a Kmac camber plate
with floating ball joint. The ball joints were worn out on that kit. After
removing the castle nut we carefully separated the knuckle from the ball joint.
Some peeople may need a ball joint separator which we did not need. After the
knuckle dropped we zip tied the knuckle to the coil spring to avoid any possible
damage to the lower suspension components.
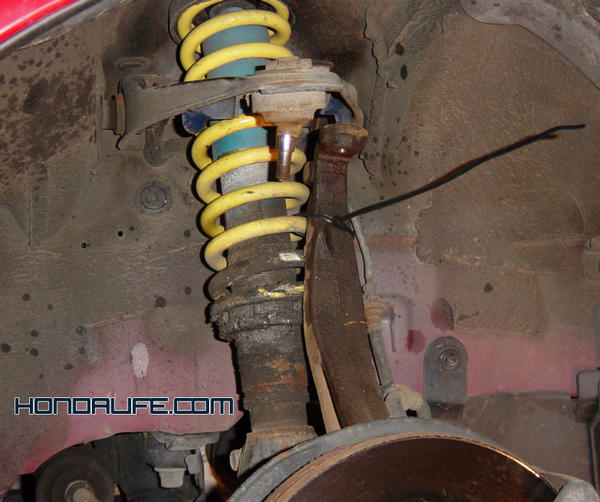
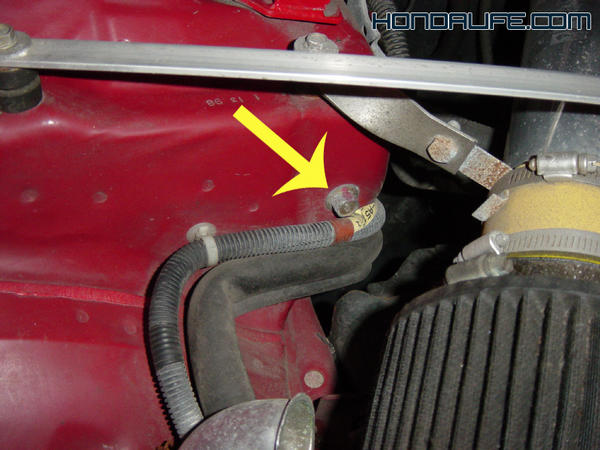
Now that that the knuckle
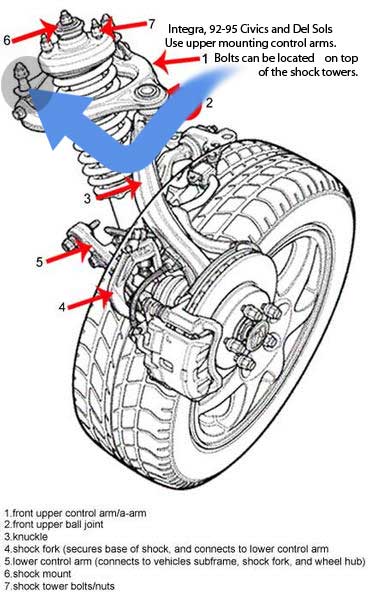
was separated we just needed to remove the existing upper control arm. The
1996-2000 Honda Civic arm is the only kit where the arm actually uses its own
pressed in bushings.. This is because the bolts mount through the arms to the
sides of the shock tower vs. the top on the Integra, Del sol and the 1992-1995
Civic. After opening the hood we located the bolts holding the arm on. We
decided to remove the battery to get at one of the bolts which was not needed
but helped. After removing the bolts we were able to dislodge the
arm.
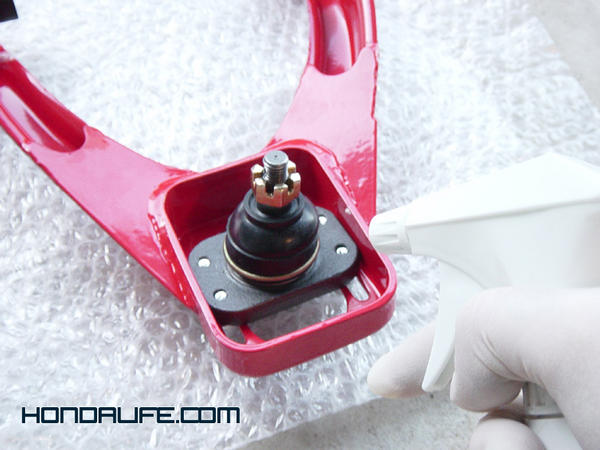

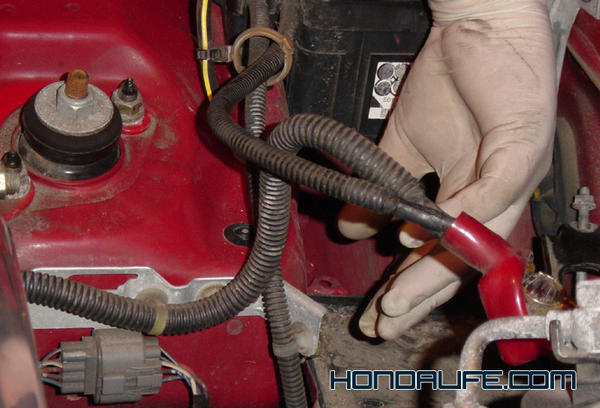
Before installing the Skunk2
arm I soaked a towel with 303 Aerospace Protectant and sprayed and wiped the
protective boot. It already had a coating on it however this was just a bit of
added protection during the install. If it is winter or if the temperature is in
the 40 degree range or below apply ShinEtsu to the boot using gloves. In
addition, we loosened all of the allen screws on the control arms so the ball
joint was free to slide. We then mounted the control arm. We replaced the bolts
holding the control arm to the sub frame but did not tighten them down to
factory specs yet because the knuckle was not re-attached yet, nor was the car
lowered back down onto the arms.
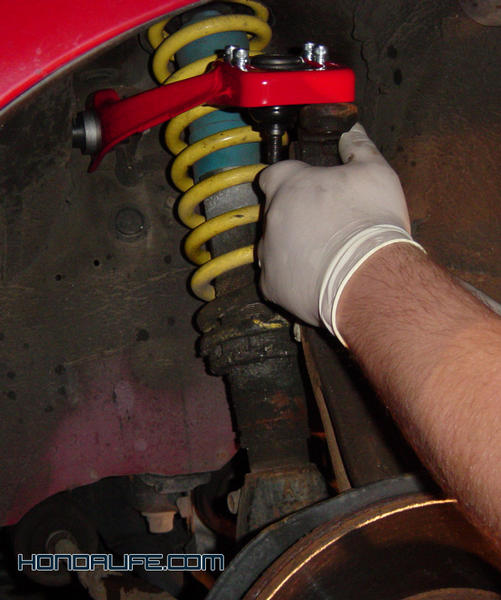
After we had
things ready we cut the zip tie and pulled the knuckle up to the main bolt on
the control arm, making sure the knuckle was as flush with the balljoint as
possible. We installed the new castle nuts supplied as well as the cotter pin
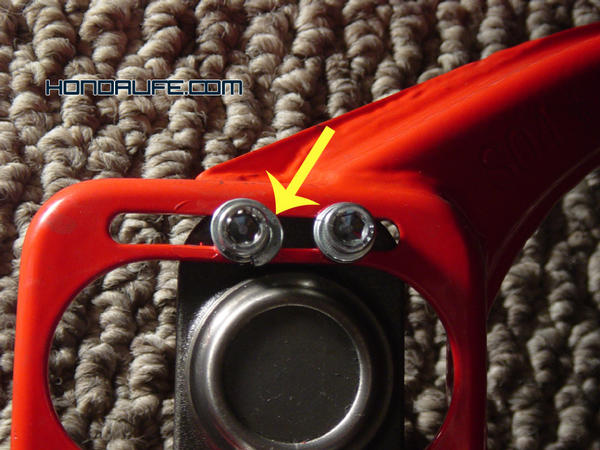
and tightened it down to factory specs. Now that we had that done,
we preped the torque wrench and attached the 5mm allen key and set the
ball joint in the middle of the grooves. This was just a temporary spot being
that the car would need an alignment after this install. We went with 10lbs of
torque since there was not a solid recommendation, however when we
tightened it down to that spec the force crushed and pushed out the locking
washer a bit so we decided to drop it down to 8lbs/ft.
We completed the same
procedure on the other side, after everything was was set we reinstalled the
wheels and lowered the car down, and tightened the control arm bolts under the
hood down all the way to factory specs.
Since I was not satisfied
with the way the kits allen screws tightened down I contacted Skunk asking them
why they don't have some type of torque instructions for these kits. And related
stories I had heard about the ball jount sliding out of place under race
conditions, which would be a disaster.
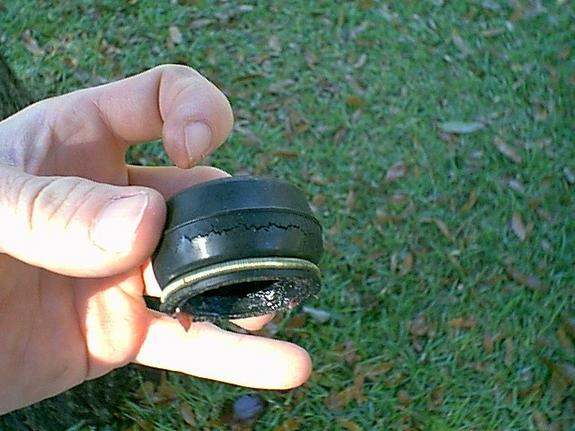
The following email
ensued.
Dezoris to Skunk2
The major
problems we have seen, is the rubber boot cracking, as well as the allen nuts
coming loose.
So I called your contact number which the gentleman on the
phone gave me some general answers but not what I was looking for. I was told to
email you.
So here they are.
1.)What type of material is the
rubber boot made from, no one seems to know. There was some mention that it was
EPDM rubber, while others thought it was Urethane. Regardless I am looking for a
way to protect the boot from cracking, so knowing the material is half the
battle.
2.)Allen wrench screws. What size tool do the screws
take?
3.)Tq, How much to Tq, the nuts. I understand they are
self-locking. But what is a reasonable Tq level.
This is a major concern for
Autoxers.
I appreciate your time
Sincerely,
Mark
Sanew
SKUNK2 to
Dezoris
Hello
Mark,
Thanks for your interest in our product. In response to your
questions-
1.) The boot is made of rubber.
2.) 5mm Hex-Head The bolts are
a tyical Honda size- M6x1.0x15mm
3.) The bolt comes with a washer and a lock
washer, some people have used larger washers to increase clamping area. 12 Ft
Lbs is an acceptable torque spec for these. Of course if people are seeing
issues of bolts loosening they should use an acceptable thread locking compound
for their situation.
I hope this helps you out.
Best
regards,
Chris
Dezoris
to Skunk2
I used a tq.
wrench using 10lbs and I crushed and pushed out the locking washer below the
bolt head.
So I went down to 8lbs on the rest and it seemed to be just
right. 8lbs is not much thread lock would be smart, as well as the larger
washers to spread out the pressure on the arm
I will forward
you my review when I am done with the article. Is it ok if I use the information
you provided in my article?
Skunk2 to
Dezoris
Huh, that is
weird. I lust torqued down all 4 screws on an arm and had no issues of upsetting
the lock washer. I would suggest 8lbs WITH threadlock.
I would like to see
the article when completed, and yes, you may use the info we
discussed.
Thanks,
Chris
So that email took place
partly before and after the install. I needed to get some thread lock on those
bolts, so I called King Motorsports to schedule an alignment. On the phone I
mentioned I needed to get an alignment and corner weighing due to my
suspension and the gentleman on the phone was unable to accommodate me.
Without going into the details of this annoying experience I have since worked
it out with Clayton at King. He and I worked out my issues to see that
I did not carry an bad opinion or have a bad image of King
Motorsports, which I appreciate. But back when I needed their services I was
turned away which took me to Big Bear Tire in Wisconsin. They were able to get
me in for a full corner weighing and alignment within a week, which, my initial
request was a month. Needless to say they applied the thread lock torqued the
bolts to 8lbs/ft and really spend some time with my car and with me making sure
that the alignment was best practice as well as the corner weighting. It was
some of the best customer service I had ever had from a shop, that did race
services.
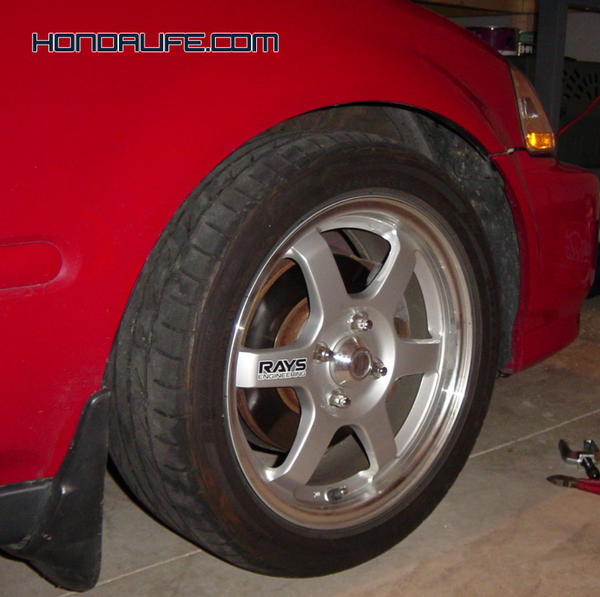
Moving forward well over a
year later taking the precautions to keep the kit in good shape has paid off,
through rain snow and countless autocrosses and alignment the kit has stayed
true, problem free. No problems with the ball joints, protective boots or
slipping of the allen locks. Not bad for a daily driver weekend racer.
PREVENT THIS
WITH TIPS BELOW
I like the kit, because I
have not had to replace it for failure. I think this is largely because of the
maintenance performed on it. Is maintenance on a camber kit a bad thing? Not in
my opinion, for a few major reasons. Most people with the cars these kits are
designed for are going to be daily driven, which will see a variety of harsh
conditions. Other suspension components require similar care, such as bushings
and threads on adjustable shocks. These parts need lubing namely if driven in
the winter to avoid binding. If other parts need it, then it is completely
acceptable to add another part to the list to care for.
I don't like the kit because
of the locking washers and allen adjusters. They are not heavy duty enough, to
be confidence inspiring, and requires special install to make sure they won't
slip. Another downfall is that the kit cannot be adjusted under load. The car
must be raised and lowered everytime an adjustment is made. Which may not seem
like a big deal, but try asking your average alignment shop how they like that?
This however is a lead in to another positive aspect. The kit is a no brainer to
adjust, there is no room for error unless it is over or under tightened. The end
user can take to it most alignment shops and not have to draw out a diagram on
how the part works.
In conclusion this is a good
product that could be great with slight changes in the manufacturing
process.
TIPS!!!!
If the car
is daily driven in a variety of climates:
Apply coat
of 303 Aerospace Protectant to boots in Summer every month, if possible. Every 3
months at the max.
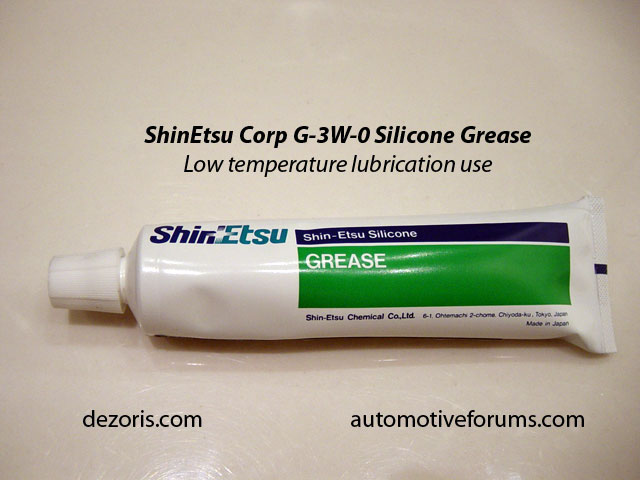
Apply
ShinEtsu G-3W-0 Silicone Grease to boots before fall. Re-apply when
applicable.
Apply Thread Lock to allen screws before each alignment to keep the plate
on the kit from coming loose. Or use bigger washers to secure the allen screws
to the arm.

Dezoris - M.
Sanew
Thanks to:
303 Products - Big Bear Tire - ShinEtsu
http://www.speedupgrade.com
http://www.hondavision.com
http://www.skunk2.com